
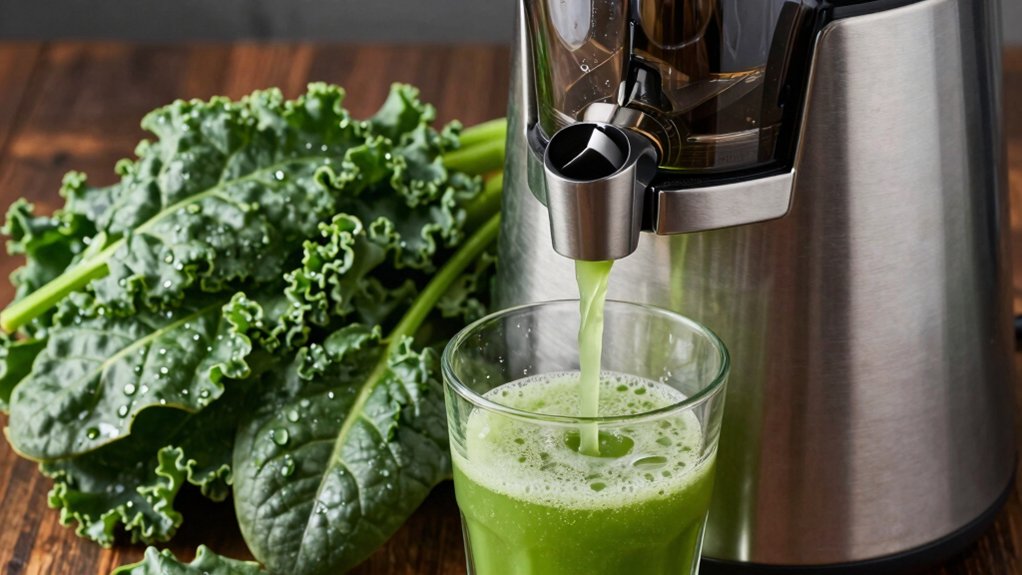
You can get more juice with less foam by choosing a slow, low-aeration juicer and prepping greens properly. Use a masticating or twin-gear machine, process greens in small amounts, and hydrate them lightly to reduce air incorporation. Remove stems, chop finely, and feed slowly. Strain or pour through a fine mesh to lift foam, and consider a tiny amount of stabilizers like flaxseed oil to settle bubbles. For more practical steps, you’ll find additional tips just ahead.
Understanding Why Foam Forms in Leafy-Green Juices

Foam forms in leafy-green juices mainly because trapped air gets stabilized by the greens’ proteins, pectins, and surface-active compounds. You’ll notice foam when you extract, since the high moisture content and cell structure release air bubbles into the juice.
In faster, centrifugal juicing, more air is incorporated, increasing foam compared with slow, masticating methods you might prefer for clarity. Insoluble fibers and certain plant enzymes act as foaming agents, creating stable bubbles that persist once formed.
Freshness and moisture variations in greens further influence foam levels, with wetter leaves contributing to more foam than drier ones. By understanding these mechanisms, you can anticipate foam and adjust technique to manage it, without compromising juice yield from your greens. foam greens
Choosing the Right Juicer to Minimize Foam
Choosing the right juicer matters for foam, and slow, low-aeration machines typically keep foam down while preserving nutrients.
If foam reduction is a priority, favor auger or low-speed masticating designs over high-speed centrifugal models.
Twin-gear juicers also minimize foam for most greens, with pineapple as a notable exception.
Slow, Low-Aeration Machines
To minimize foam and maximize juice, choose a slow, low-aeration juicer such as a masticating or twin-gear model, which operate at roughly 40–110 RPM and limit air intake during extraction. These slow juicers reduce foam by avoiding rapid air incorporation, unlike centrifugal machines that spin at around 10,000 RPM.
With gentle pressing, masticating units extract more juice with less agitation, further cutting foam. Twin-gear designs crush produce slowly under high pressure, yielding clearer juice and minimal foam thanks to reduced air entrapment.
Juicer Type Impacts Foam
What kind of juicer minimizes foam? Slow juicers, especially masticating types, routinely produce markedly less foam than high-speed centrifugal models that spin around 10,000 RPM.
Twin-gear (triturating) juicers apply high pressure and shear, extracting juice with minimal aeration, which reduces foam formation.
Horizontal auger juicers tend to create less foam with leafy greens than vertical models due to gentler processing.
Juicers designed with a fine mesh or integrated foam strainer help filter out excess air bubbles, further cutting foam during extraction.
High-quality slow juicers often yield clearer juice with reduced foam because they operate at lower speeds, generating less mechanical aeration.
Choosing the right juicer type can meaningfully minimize foam without sacrificing yield or nutrient retention. slow juicers win on foam reduction.


Auger Vs Centrifugal Benefits
Auger and centrifugal juicers differ most in speed, with auger units operating at low RPM (about 40–110) and centrifugal models spinning near 10,000 RPM.
You’ll notice foam is substantially lower with auger juicers because slow squeezing minimizes air incorporation. Centrifugal units introduce more air during high-speed spinning, increasing foam in the juice.
Slow, masticating juicers also extract more juice from leafy greens by gently crushing and pressing produce, reducing foamy fractions.
Twin-gear juicers, a type of auger, apply higher pressure with minimal aeration, further decreasing foam.
Overall, choosing an auger or masticating juicer over centrifugal models is the most effective way to minimize foam and maximize leafy greens yield.
For foam control, prioritize auger-based designs. Auger, foam.
Prepping Greens to Reduce Foam Before Juicing
Rinse greens thoroughly and let them hydrate in cold water for 10–15 minutes to minimize foam-causing surface surfactants and cell rupture.
Remove stems and fibrous parts, and chop into small pieces to ease extraction and reduce air incorporation.
Opt for slightly wilted, less fresh greens, which tend to produce less foam than very fresh, overly moist leaves.
Freshness and Moisture
Fresh greens that are freshly harvested and properly stored stay juicier and foam less. To keep foam down, choose greens with high moisture—like fresh spinach or romaine—and avoid drier varieties.
Freshness matters: greens that are recently harvested maintain ideal moisture levels, reducing foam during juicing. Slightly wilted or dried greens contain less water, which can increase foam, so store and handle with care.
Wash greens thoroughly to remove surface contaminants that may contribute to foam formation. If greens feel dry, hydrate them briefly in water for a few minutes before juicing; this restores moisture and helps quiet foam.
When possible, opt for greens known for higher natural moisture content to maintain smoother juice and less foam overall.
Prep Techniques for Greens
To minimize foam before juicing, start by washing greens thoroughly to remove surface dirt and contaminants that can trigger foam formation.
Next, hydrate greens by a brief rinse or light soaking, because moisture content influences foam production.
Use fresh, crisp greens rather than wilted leaves, since higher moisture from fresh greens helps reduce foam.
Remove thick stems, stalks, or overly fibrous parts that can increase air entrapment during extraction.
Chop greens into smaller pieces to facilitate smoother extraction and minimize air incorporation that leads to foam.
While prepping, keep greens cool and dry before loading the juicer, as excess surface moisture can contribute to foam.
These prep steps support consistent juice quality with less foam and waste.
greens, prep.
Juicing Techniques That Lower Foam Production
Even with leafy greens, foam can be minimized by using a slow, masticating juicer operating around 1700 RPM, which reduces air incorporation during extraction. You’ll also feed greens gradually in small amounts to avoid sudden air pockets that spike foam during juicing.
Hydrate greens before processing, since moistened produce tends to foam less than dry or dehydrated options. Opt for produce with lower water content and avoid over-processing, as excessive cell rupture boosts foam generation.
To further control foam, use a fine-mesh strainer or the juicer’s built-in strainer to remove foam during or just after extraction. Pair these practices with careful timing and steady pressure to maintain clarity, improve yield, and keep your juice smoother without added steps.
Foam, juicing—maximize results efficiently.
Post-Juicing Methods to Remove or Dissolve Foam
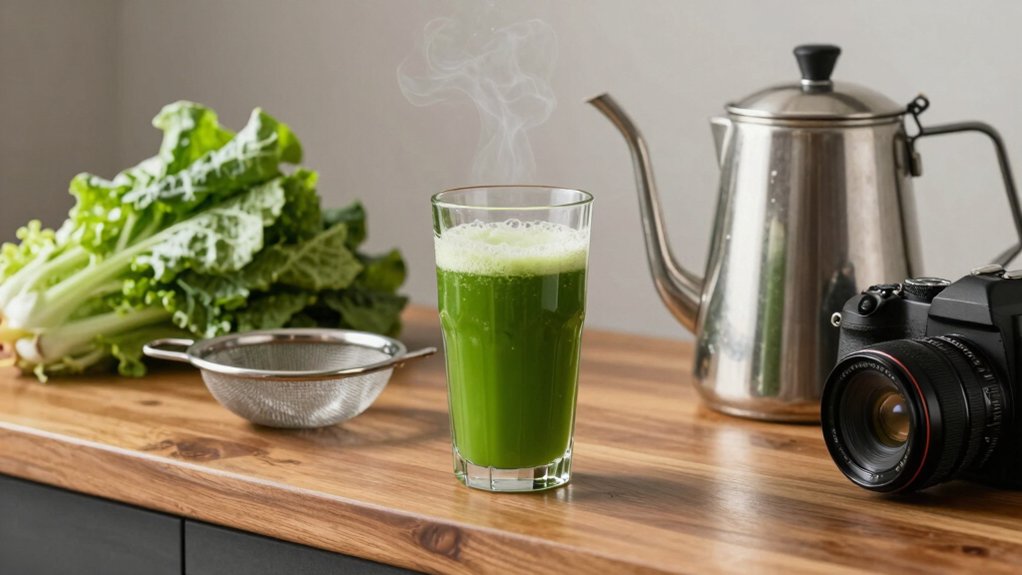
Post-juicing methods can quickly reduce or dissolve foam, improving texture and drinkability. You can remove foam efficiently by straining the juice through a fine-mesh sieve or cheesecloth, which traps air bubbles and separates them from the liquid.
Stir the foam with a spoon to break bubbles and encourage dissolution back into the juice. Let the freshly extracted juice sit for 5–10 minutes; during this rest, bubbles burst and foam naturally collapses.
Pouring slowly and at an angle minimizes aeration, reducing foam formation as you serve. If you’re using a French press or similar device, gently press and strain to remove excess foam smoothly.
These steps emphasize practical, evidence-based methods to remove foam without adding additives.
Natural and Safe Additives to Stabilize Juice Without Foam
Natural, safe additives can stabilize juice and reduce foam without altering flavor. You can use small amounts of healthy oils (flaxseed, coconut, or olive oil) to lower surface tension and destabilize foam.
Incorporate natural stabilizers like lecithin (soy or sunflower-based) to improve emulsion stability and decrease foam formation. Citrus peel oils from oranges or lemons supply natural surfactants that curb foam when added in tiny quantities.
Plant-based emulsifiers such as agar or pectin help create a smoother juice by stabilizing the liquid–air interface, supporting foam reduction. These additives are food-safe, minimally affect taste, and can be used in small doses to effectively stabilize juice without foam.
Always test in a small batch to calibrate amounts for your greens.
Practical Plan: Steps to Achieve More Juice With Less Foam
To get more juice with less foam, start with a slow, masticating juicer around 1700 RPM to minimize air incorporation, and hydrate leafy greens thoroughly so they yield less foam during extraction.
Begin by loading greens gradually; avoid overloading the juicer and alternate with juicier vegetables to reduce air entrapment. Hydration helps reduce moisture-driven foam, so prep greens with a quick soak, then drain before juicing.
As you pour, pass the juice through a fine-mesh sieve or cheesecloth to strain out excess foam effectively. Consider incorporating healthy oils, like flaxseed or coconut oil, into your greens before juicing to destabilize foam bubbles.
This practical plan—combined with a steady technique—maximizes juice yield while keeping foam to a minimum for smoother greens juice. Foam. Greens.
Conclusion
Juicing greens is a dance between science and habit. Foam fades when you pick the right juicer, prep leaves to reduce air, and juice with steady, clean technique. Think of foam as the sun on water—temporary and refracted, not a sign of failure. Use low-speed, gentle pressing, and smart post-processing to crown your juice with clarity. With consistent steps, you’ll harvest more liquid, less froth, and a smoother, evidence-backed sip you can trust.