
Table of Contents
Nobody buys a juicer dreaming about the thrilling world of juicer maintenance, but here’s the brutal truth: how well you look after your machine will directly determine whether it’s still working brilliantly in five years or whether it’s become a sluggish, stained nightmare that you avoid using.
You’ll keep your juicer at peak efficiency with a disciplined routine of immediate cleaning, thorough scrubbing, and smart part maintenance. After use, disassemble and rinse parts right away to prevent dried pulp. Soak screens and blades for tough grime, scrub with a soft brush, then air-dry before reassembly. Dry storage prevents mold, and inspect for wear to replace blades or screens as needed. Regular maintenance minimizes downtime and preserves performance; stay on this path to reveal more optimization tips.
Importance of Regular Cleaning for Longevity
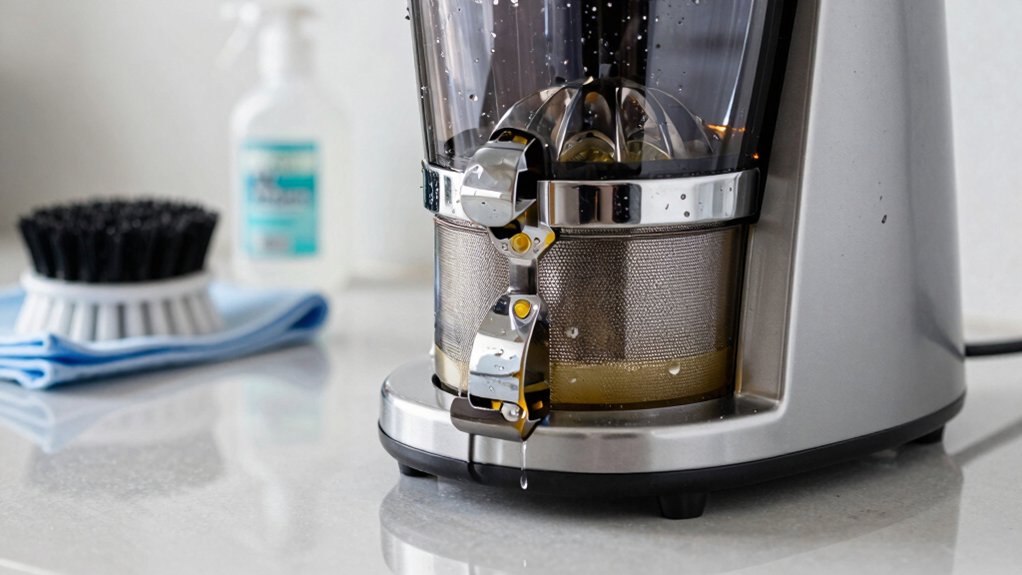
Regular cleaning after each use prevents pulp residue from drying and hardening, which can cause clogs and reduce juicing efficiency. You maintain system effectiveness by preventing buildup on blades and screens, preserving sharpness and flow.
By adhering to a consistent maintenance routine, you extend overall juicer longevity and minimize downtime. Deep cleaning, performed weekly, targets hidden deposits that degrade performance if ignored. This practice helps you detect wear or damage early, supporting reliable operation and fewer costly repairs.
Always follow manufacturer’s instructions to ensure compatible methods and safe disassembly. Proper cleaning routines help sustain juice quality, reduce odors, and protect components from corrosion.
In short, disciplined care sustains efficiency, hygiene, and long-term value of your juicer investment.
Immediate Rinsing and Disassembly After Use
After you finish juicing, disassemble all removable parts and rinse them with warm water right away to prevent drying and residue buildup.
This immediate step reduces clogging, simplifies cleaning of hard-to-reach areas, and limits bacterial growth and odors from leftover material.
Quick disassembly and rinsing also help extend your juicer’s lifespan by minimizing corrosion and residue persistence.
Post-Use Disassembly Steps
Immediately after juicing, unplug the appliance and disassemble all removable parts, including the pulp container, juice spout, and filter basket, to prevent any residual motion or leakage.
You then rinse each part with warm water to remove pulp and residue before any buildup dries on surfaces.
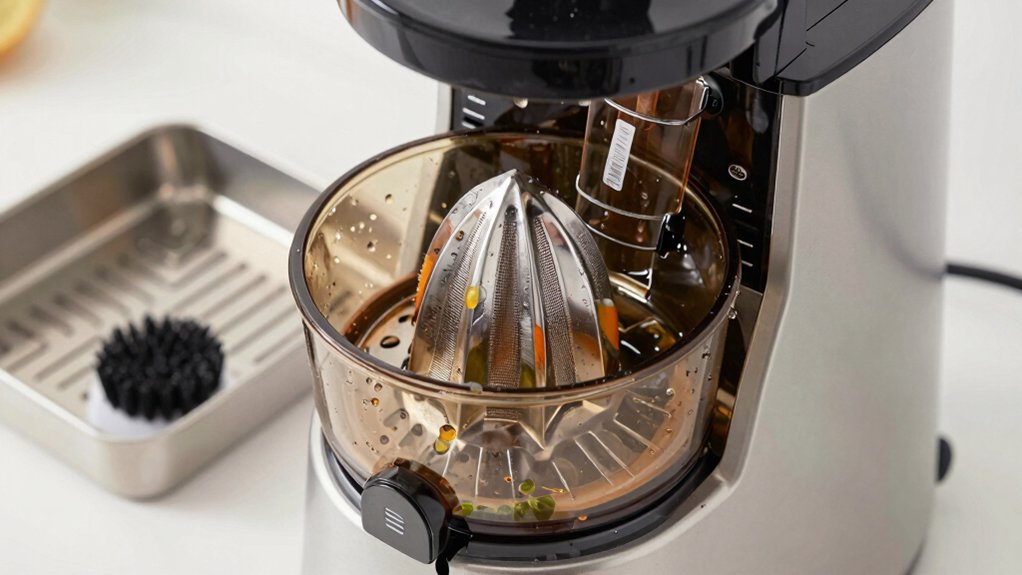
Use a soft brush to gently clean the mesh screen and blades, ensuring pulp particles are removed from hard-to-reach areas.
Inspect for wear and reattach only after complete drying.
Dry all disassembled parts with a soft towel or let them air dry completely before reassembling to prevent mold and bacterial growth.
This post-use step emphasizes cleaning, proper handling of removable parts, and avoiding buildup for ideal performance and longevity.
Immediate Rinsing Practices
Because you’ve just finished juicing, rinse all removable parts with warm water immediately to prevent pulp from drying and hardening. Then disassemble the juicer, including blades and screens, to allow thorough cleaning and inspection.
You should rinse every component before touching the internals to minimize residue transfer. Use a soft brush to scrub mesh screens and blades, removing residual pulp and preventing clogging.
Inspect seals and fasteners for wear, noting any moisture intrusion. Dry all components completely before reassembly to prevent mold and ensure hygienic storage.
Maintain separate rinsing stations for interchangeable parts to avoid cross-contamination. After drying, reassemble promptly, verify proper seating, and store components in a clean, dry area.
Consistent immediate rinsing reduces odors and extends blade and screen life.
Preventing Dry Buildup
Rinsing and disassembly immediately after juicing prevents dry buildup and makes cleaning faster. Immediate rinsing stops pulp from drying, reducing hardening and residue removal work later. You should rinse all juicer parts with warm water promptly to minimize dried pulp on blades and screens.
Disassemble the blades and screens right away to expose all surfaces for thorough cleaning before residue sets. Dried pulp and juice residue can harden within 10-15 minutes, complicating removal if delayed.
Use a cleaning brush to target crevices and ensure complete clearance of pulp from drying. This practice also reduces microbial growth and odor buildup on components.
Proper disassembly supports blade sharpness and screen clarity, preserving performance and extending device life.


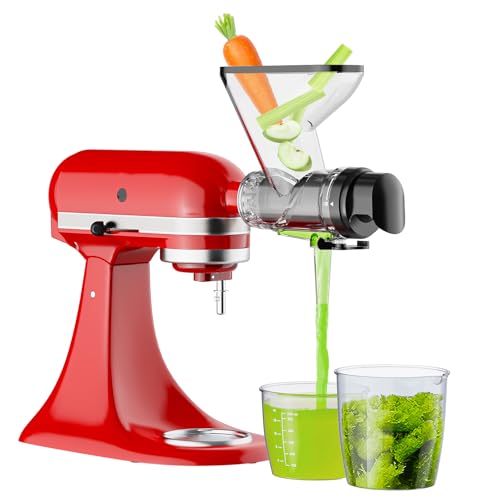
Soaking, Scrubbing, and Stubborn Buildup Removal
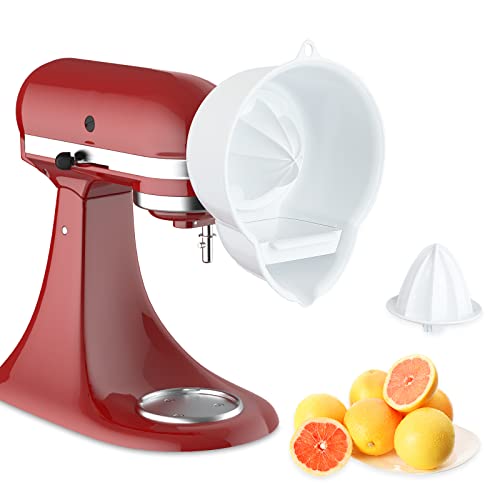
Soaking the juicer components loosens dried pulp and residue, making subsequent scrubbing more effective. You start by immersing blades and screens in warm, soapy water for 10–15 minutes to begin residue loosening.
For stubborn buildup, apply a vinegar solution or lemon juice to dissolve mineral deposits, then continue with soaking.
Use a soft-bristled brush to safely dislodge pulp lodged in mesh screens without harming delicate parts, aiding thorough cleanup.
This deep cleaning step targets long-term grime that regular rinsing misses, enhancing overall hygiene and performance.
After soaking and scrubbing, rinse thoroughly to remove all residues and any cleaning solution remnants before reassembly.
Conclude with a final rinse to ensure no lingering odors or contaminants interfere with flavor or safety.
Drying, Reassembly, and Proper Storage
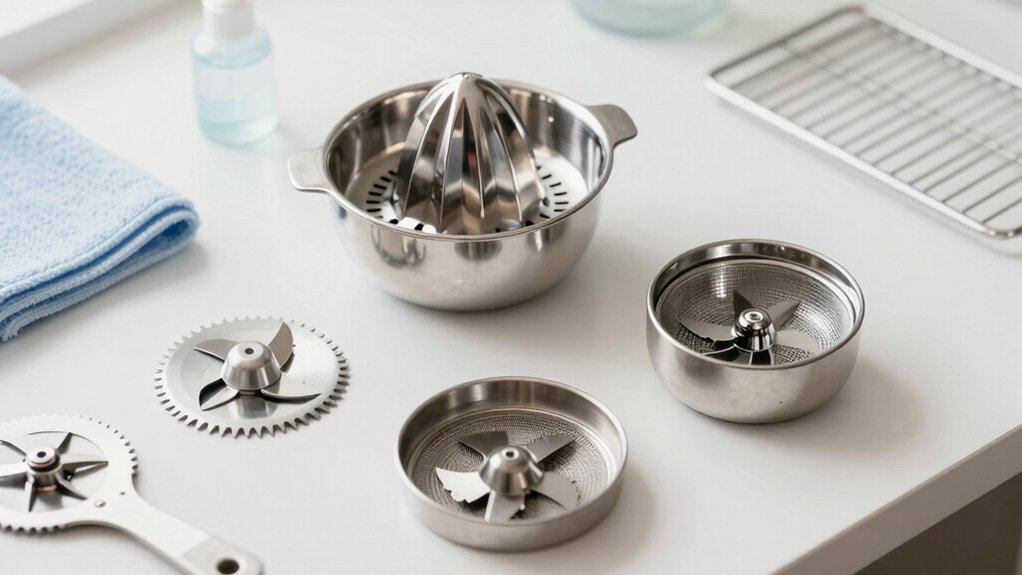
After cleaning, dry every part thoroughly with a soft towel or allow air-drying to prevent rust and mold. You reassemble only when all components are completely dry to maintain hygiene and avoid damage.
For storage, disassemble fully and place parts in a cool, dry place to prevent dust buildup and contamination. During long-term storage, lightly coat metal blades with vegetable oil to prevent rust while preserving edge integrity.
Use a clean cloth to cover disassembled parts or store them in a sealed container to shield from moisture and debris. Practice proper handling by keeping blades and screens separated until reassembly, and ensure you verify dryness before reassembly.
This sequence supports thorough cleaning, rust prevention, and reliable component drying.
Routine Maintenance Beyond Cleaning
Routine maintenance beyond cleaning focuses on sustaining performance and longevity by proactively checking wear, replacing components as needed, and scheduling periodic upkeep. You should perform a formal inspection of blades and screens to detect dullness, nicks, or deformities that affect extraction and motor load.
When wear is evident or per manufacturer recommendations, execute timely replacement of blades and screens to maintain durability and safety. Implement a routine oiling plan, applying food-grade mineral oil or a thin vegetable oil film to blades before storage to prevent rust and preserve edge integrity.
Use specialized cleaning brushes to support inspection accuracy, removing pulp buildup that could mask wear. Schedule deep cleaning and inspection at three to six month intervals to sustain component reliability and juice quality.
Troubleshooting Common Issues With Blades and Screens
You’ll start by checking blade sharpness and replacing or sharpening dull edges to maintain efficiency and safeguard the motor.
Prevent screen clogs by inspecting openings, cleaning debris, and replacing damaged screens as needed.
Follow replacement guidance to ensure proper alignment and secure attachment, which reduces leaks and preserves performance.
Blade Sharpness Checks
Blade sharpness directly affects juice yield and processing speed, so start by testing the blades with a simple cut test—if they struggle to slice or cut cleanly through produce or paper, they’re likely dull and need sharpening or replacement.
To assess reliability, inspect blades for nicks, burrs, and corrosion, using a magnifying glass if needed. Perform a sharpness test by attempting a clean cut through a produce piece; failure to slice smoothly indicates dull blades requiring sharpening or replacement.
Regularly inspect blades during cleaning, and note any increased processing time or reduced juice yield, which signal diminished sharpness. Maintain cleaning blades routine to prevent buildup that dulls edges; address dull blades promptly to preserve efficiency and performance.
Screen Clog Prevention
Screen clog prevention starts with timely cleaning and maintenance of screens and blades to sustain efficient flow. You keep screen clogging at bay by cleaning immediately after juicing, rinsing thoroughly to remove pulp buildup. Use a cleaning brush to scrub screens and blades, targeting stubborn residue to maintain excellent flow.
Soak screens in a vinegar-water solution for 10-15 minutes to dissolve mineral deposits and prevent clogging. Avoid overloading the juicer, since excessive produce boosts pulp extrusion and increases clog risk.
After soaking, rinse and inspect screens for damage; replace worn parts promptly to prevent persistent clogs and ensure smooth operation. Monitor the pulp container level, emptying as needed to prevent overflow that could contribute to clogging.
Regular maintenance sustains efficiency and reduces downtime.
Replacement Guidance Tips
Regular inspection helps prevent downtime: replace dull, cracked, or damaged blades and screens promptly to maintain juicing efficiency. You should use manufacturer-recommended replacement parts to guarantee proper fit and durable performance.
When troubleshooting issues like clogging or weak juice extraction, replace worn or broken blades and screens to restore efficiency and consistency. Keep a spare set of blades and screens on hand to minimize downtime during maintenance and model-specific installation steps.
Inspect alignment, seals, and fasteners after installation to confirm a proper fit and secure seating. Use model guidelines to install and secure components correctly, ensuring smooth operation and peak performance.
Prioritize fit, durability, and reliable replacement parts to sustain long-term reliability and minimal downtime.
Conclusion
Proper upkeep keeps your juicer’s blades sharp and screens clear, preventing efficiency loss and costly repairs. After each use, rinse, disassemble, and dry thoroughly to minimize bacterial growth and oxidation. Regular soaking and gentle scrubbing tackle stubborn residue, while timely reassembly and storage reduce corrosion. Routine checks on seals and screens prevent downtime. Fun fact: users who clean within 5 minutes report 30% fewer clogs and 20% longer blade life. Stay consistent, stay precise.