
Table of Contents
To make cold-pressed juice at home on a budget, start with affordable, in-season produce like carrots, apples, and greens, then pick a budget-friendly masticating juicer or even a versatile blender to save space. Shop at farmers markets for fresh deals, wash and trim produce, and chop it to fit your juicer. Juice slowly, store in airtight glass jars in the fridge for up to 72 hours, and use pulp creatively to stretch ingredients. You’ll pick up more tips as you continue.
Getting Started With Cold-Pressed Juicing on a Budget
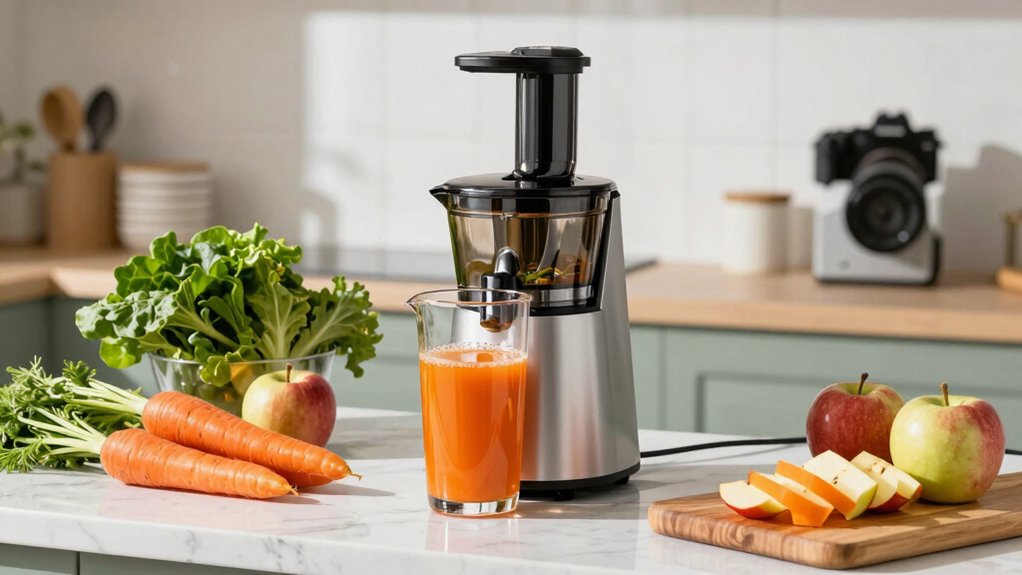
Getting started with cold-pressed juicing on a budget is all about smart choices that maximize yield while trimming costs. You’ll begin with affordable, in-season produce like carrots, apples, and greens to keep prices low and juice output high.
A budget-friendly masticating juicer, such as the Breville Cold Press, reliably extracts nutrients without overspending. Shop at local farmers markets or wholesale stores to find fresh produce at reduced prices suitable for regular juicing.
Choose simple juicing recipes with minimal ingredients to streamline prep and cut waste. Store excess juice in airtight glass containers in the fridge for up to 3 days to minimize spoilage.
Rely on evidence-based, practical steps to maintain consistency, flavor, and budget harmony in your cold pressed juice routine. cold pressed juice, juicing recipes.




Choosing Your Juicer or Blender for Budget Juicing
When choosing gear for budget juicing, start with your needs and space, then compare cost, efficiency, and nutrient retention.
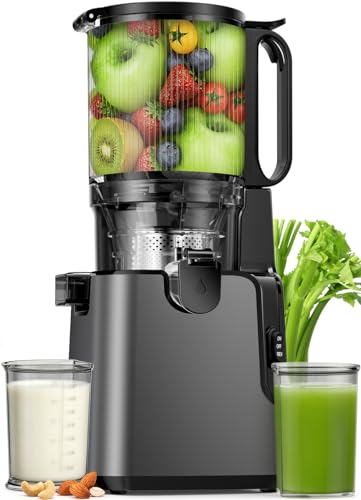
For cold-pressed juice, a masticating juicer like Hurom costs roughly $200–$400 and preserves nutrients well.
If you’re on a tighter budget, affordable blenders around $50–$100 can make juice by blending produce and then straining out pulp.
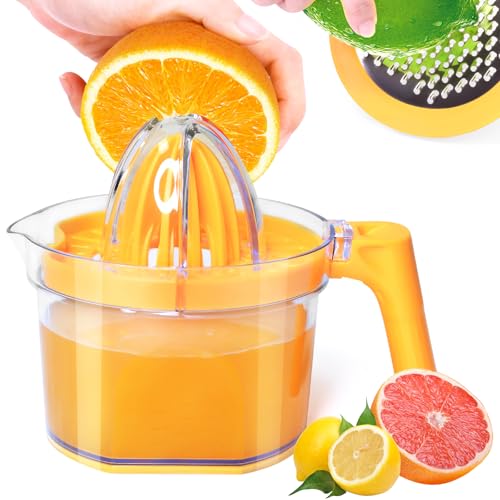
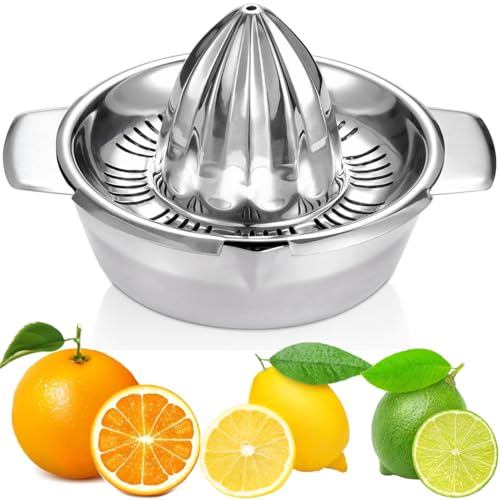
Manual juicers or citrus reamers under $20 suit small citrus batches.
A regular blender with water, plus straining through cheesecloth or a fine sieve, can yield juice without a dedicated juicer.
Consider versatility: a high-quality blender may process smoothies and purees too, saving money and space while covering juicing needs.
Balance upfront cost with long-term use to maximize value.



Smart Shopping: In-Season Produce for Maximum Value
Shop what’s in season to get cheaper, fresher juice ingredients with richer flavor. You’ll notice in-season produce is typically cheaper, fresher, and more flavorful, which directly supports budget-friendly juicing.
When berries, peaches, or tomatoes peak, they’re naturally abundant and affordable, so you get more juice for less. Visit local farmers’ markets or farm stands—those venues often offer lower prices than supermarkets and fresher options.
Buying by season also cuts transportation and storage costs, translating to higher quality juice at a lower total price. Incorporate seasonal produce to maximize nutritional value, since fruits and vegetables reach peak ripeness at harvest.
Prep Steps: Washing, Trimming, and Chopping Produce
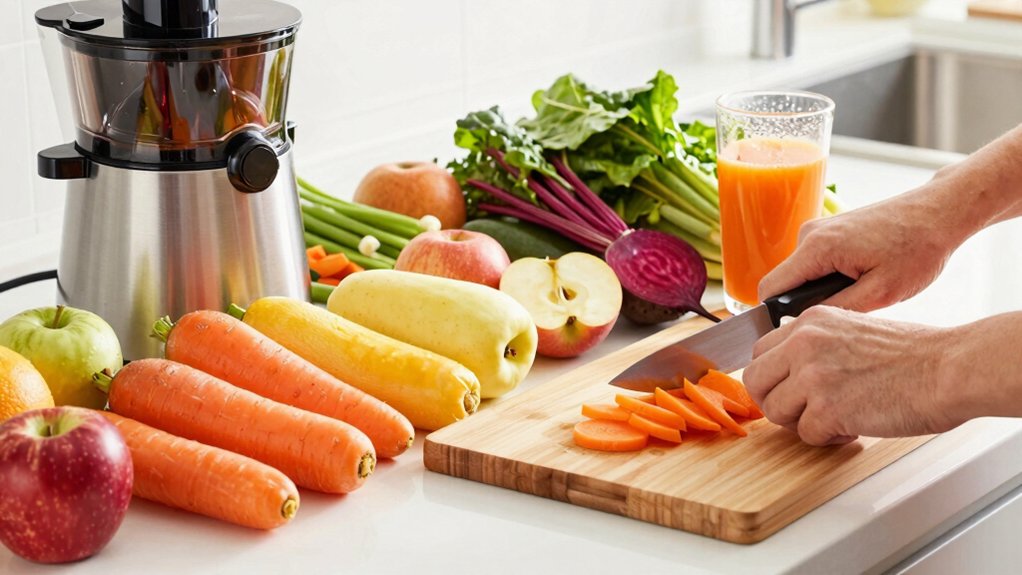
Start by rinsing all produce under cold water to remove dirt and pesticides. Then trim off leaves, stems, and blemishes for freshness.
Cut produce into pieces that fit your juicer’s feed chute and remove seeds from apples or peppers to prevent clogs and improve clarity. This prep stages set up smooth, efficient juicing and protect your machine and yield.
Wash Produce Thoroughly
Wash produce thoroughly to remove dirt and microbes before juicing. You should rinse all fruits and vegetables under cold running water for at least 30 seconds to lift surface dirt and bacteria.
For thicker skins, like cucumbers, carrots, and melons, use a vegetable brush or scrubber to guarantee thorough cleaning.
Trim off any leaves, stems, or damaged areas before juicing, discarding spoiled parts to prevent off-flavors.
Peel citrus fruits, pineapple, and other produce with thick or inedible rinds to avoid bitterness and protect your juicer.
After washing, chop produce into smaller, manageable pieces that fit your juicer’s feed chute, reducing strain and improving efficiency.
This step is a core part of proper produce preparation and sets up cleaner juice.
Trim and Prep Ends
After washing, you’ll trim and prep ends to prep the produce for juicing. Begin by removing stems, leaves, and any damaged areas to create a clean, smooth surface for the juicer.
Rinse again if needed, then trim away any excess to reduce waste and prevent bitterness from unusable scraps. For thick-skinned fruits, like oranges, pineapples, and citrus, peel as needed to prevent bitter notes and protect your juicer’s seals.
If you’re handling large produce, chop into smaller pieces to feed the chute more easily and maintain consistent extraction.
Finally, remove seeds, pits, and cores to avoid equipment damage and improve juice quality. By focusing on ends and prep, you streamline the process and enhance yield. ends, prep.
Chop for Juicing
Before you chop, give produce a thorough rinse to remove dirt, pesticides, and bacteria, then trim away leaves, stems, and any damaged or rotten parts.
You’ll then cut larger fruits and vegetables into smaller, manageable pieces that fit easily into your juicer’s feed chute. Use a sharp knife to ensure uniform sizes, which helps processing speed and consistency.
Peel citrus, pineapple, or mango if required by your juicer or to improve flavor and texture. This prep minimizes waste and improves yield, so you extract more juice with fewer pulp clogs.
Focus on both fruits and vegetables to balance sweetness and nutrients. Keep pieces evenly sized for steady, even pressing, and reduce prep time by batch-clearing a cutting board.
Safe, efficient chopping supports a smoother cold‑pressed result.
The Juicing Process: Step-By-Step With a Masticating Juicer
You’ll start by feeding washed, trimmed produce into the masticating juicer slowly, using a food pusher to optimize pulp-to-juice extraction.
Collect the juice in the designated pitcher and keep the machine steady, avoiding overloading to maintain consistent flow.
After juicing, rinse all components, pour the juice into glasses or storage bottles immediately, and refrigerate leftovers in airtight containers for up to 72 hours.
Juicer Operation Basics
To get the most juice and nutrients from your produce, use a masticating juicer and feed ingredients into the chute slowly with the food pusher. You’ll maximize extraction by letting the auger crush and press, as with a Hurom or Slow Squeeze model.
Cut large fruits and vegetables into manageable pieces—halves or quarters—to ease feeding and protect the machine. Turn on the juicer, then slowly insert produce, watching pulp separate from liquid as juice flows into the pitcher.
After juicing, turn off the machine, remove the pitcher, and pour or store the juice immediately for maximum freshness. This approach supports a make cold pressed result, keeping nutrients intact while reducing clog risk in a reliable juicing machine.
Pulp-to-Juice Workflow
Start by feeding produce slowly into the masticating juicer’s chute with a food pusher to maximize juice extraction and preserve nutrients. Allying careful feeding with steady pressure helps the auger crush and press the produce efficiently.
You’ll reduce clogging by cutting large fruits and vegetables, like carrots and apples, into halves or smaller pieces. Remove tough peels from citrus and pineapple to protect the blades and improve juice clarity.
Collect the fresh juice in a pitcher immediately after juicing to prevent oxidation and nutrient loss.
After pressing, rinse all juicer components thoroughly with water to maintain cleanliness and ideal performance.
This pulp-to-juice workflow emphasizes efficient processing, clear juice, and easy cleanup for reliable, budget-friendly cold-pressed results.
DIY vs. Store-Bought: Costs and Practical Comparisons
Whether you’re aiming to save money or tailor flavors, DIY cold-pressed juice generally costs less per bottle than store-bought options, though it requires time for prep and cleanup.
A cost comparison shows homemade juice runs about $1 to $3 per serving, versus $4 to $8 for many bottled options.
Investing $200 to $500 in a quality cold-press juicer pays off over time by enabling unlimited, cost-effective production.
Store-bought drinks often include added sugars and preservatives, while homemade juice stays natural and customizable.
Yes, convenience favors store-bought, but you gain flavor control and ingredient freshness with homemade juice.
If you value budget efficiency and dietary control, DIY wins on total cost despite the extra prep work.
Storing Your Juice Safely for Freshness
Chill your juice promptly after juicing and store it in airtight glass jars to minimize oxidation. Keep everything refrigerated at 40°F (4°C) or below and fill jars to the top to limit air exposure. Then use within 72 hours for peak freshness.
Add a splash of citrus, like lemon or lime, to boost flavor and extend shelf life. Shake gently before drinking since separation can occur.
Chill Promptly After Juicing
To keep your juice fresh and safe, refrigerate it within two hours of juicing in airtight glass containers to minimize oxidation.
After you juice, transfer immediately, seal tightly, and chill promptly to lock in nutrients.
Store at 40°F (4°C) or cooler to maintain safety and flavor.
The goal is to consume the juice within 72 hours, since quality declines over time, so plan batches accordingly.
To maximize shelf life, consider adding a splash of citrus juice like lemon or lime, which acts as a natural preservative.
Always shake or stir before drinking to reblend any settled pulp and separate liquids.
Use Glass Storage Jars
Using glass storage jars is your best bet for keeping cold-pressed juice fresh and nutrient-packed. To minimize oxidation, store fresh juice in airtight glass jars and keep the lids tight.
Opt for dark glass to shield nutrients from light, which can degrade vitamins over time. Fill containers to the brim, leaving minimal air space, so you extend freshness and curb spoilage.
Label each jar with the juicing date and plan to consume within 72 hours for peak quality. Before filling, rinse jars thoroughly and dry completely to prevent bacterial growth.
When you store, place jars in a cool, dark spot or fridge to maintain color, flavor, and nutrient integrity. Glass jars help you store fresh juice safely and economically without leaching flavors.
Add Citrus for Freshness
Ever wonder how citrus can boost both freshness and safety in cold-pressed juice? Adding citrus fruits like lemon or lime to your juice can extend shelf life by up to 2 days due to natural preservative properties.
Including citrus increases vitamin C content, which helps inhibit bacterial growth during storage. Store your freshly made juice in airtight glass containers to prevent oxidation and preserve citrus’s antioxidant benefits.
Keep the juice refrigerated at or below 40°F (4°C) to maintain freshness, especially when citrus has been added. For ideal freshness, consume citrus-enhanced juice within 24 to 72 hours, and consider adding more citrus or a splash of lemon juice before storage to boost preservation.
Make juice with citrus fruits for clearer results.
Reducing Waste: Pulp Utilization Ideas
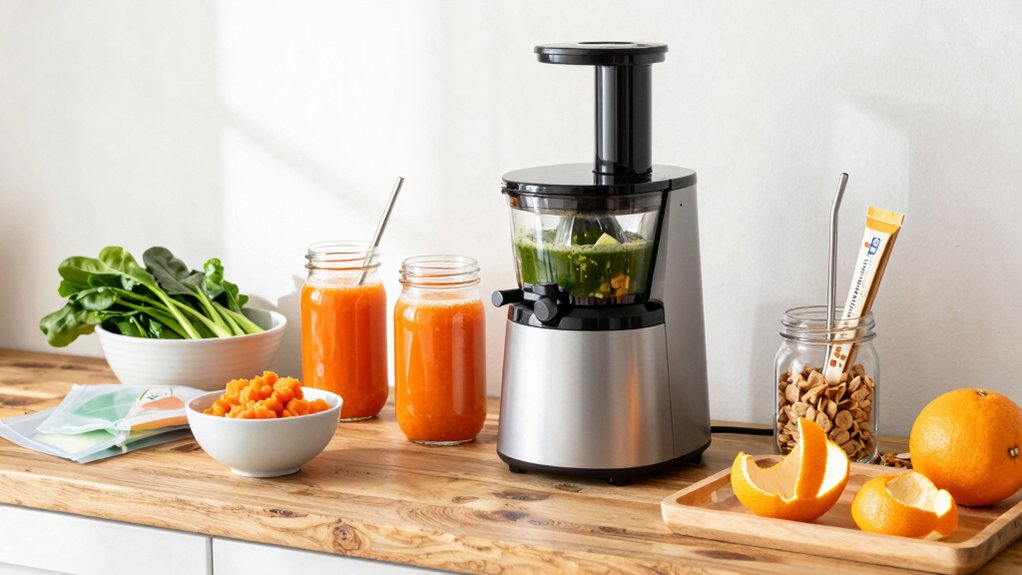
Pulp from cold-pressed juice doesn’t have to go to waste; you can turn it into tasty, nutritious additions instead. You can bake muffins or bread with the pulp, boosting fiber and reducing waste. Dehydrate pulp to make crispy chips, or mix it into soups, stews, or sauces to enrich texture and nutrition.
Use the leftover fiber for homemade pesto or to improve smoothies, delivering extra texture without extra steps. Pulp also makes great crackers or energy bites, offering portable nutrition that cuts spoilage.
In baking and cooking, incorporating pulp helps maximize produce usage and supports a practical, budget-friendly approach to reducing waste.
Flavor Combos: Simple, Budget-Friendly Recipes
Flavor combinations don’t have to be pricey: simple blends of cucumber and celery with apple or orange deliver invigorating, low-cost juice that balances bright acidity with subtle sweetness. You can start with two- or three-ingredient builds like lemon and spinach or pineapple and cucumber to keep costs down and prep quick.
Seasonal veggies such as carrots and beets boost sweetness and nutrition without inflating the bill, while mint or a hint of ginger adds aroma and depth without major expense. Aim for simple recipes that minimize waste: mix available produce to tailor taste, then test small tweaks.
This approach emphasizes budget-friendly, repeatable results, guarantees you enjoy fresh juice more often, and reduces reliance on costly specialty blends.
Protein-Packed Additions to Support Fitness Goals
Protein-packed additions can elevate your juice from invigorating to recovery-friendly, helping you meet daily protein needs while supporting muscle repair after workouts.
You can mix Greek yogurt, plant-based protein powders, or nut butters into your juice to boost protein without derailing taste.
High-protein ingredients like chia seeds or hemp seeds deliver essential amino acids and add texture, expanding nutrition without extra steps.
Pair fruits with vegetables and protein-rich additions to close gaps in daily protein targets, especially if you train or follow a plant-based plan.
Simple proteins, such as whey or pea powder, let you tailor protein intake without substantially altering flavor.
Use in breakfast or post-workout routines to sustain energy and support muscle repair.
protein, vegetables
Troubleshooting Common Issues on a Budget
If your cold-pressed juice runs too watery, add more produce—fruits or greens—to boost pulp and thickness without adding sugar.
When juices separate quickly, store them in airtight glass containers and shake gently before drinking to mix the layers.
If your juicer is clogging or producing less juice, clean the filter and feeding chute thoroughly to remove pulp buildup.
To prevent spoilage and extend freshness on a budget, add a splash of citrus juice like lemon or lime, which acts as a natural preservative.
If the yield is lower than expected, confirm you’re feeding produce slowly and evenly into the juicer to maximize extraction efficiency.
Practice cleaning and proper storage to sustain quality without overspending.
Quick Tips to Maintain Freshness Without Overspending
Keeping freshness without overspending starts with smart storage and timing. To preserve nutrients, store your freshly made juice in airtight glass bottles or jars to prevent oxidation. Refrigerate at or below 40°F (4°C) and consume within 72 hours for ideal taste and nutrition.
Add a splash of citrus juice, like lemon or lime, to slow spoilage and extend freshness naturally. Use reusable silicone bags or containers for produce and juice, cutting waste and saving money over disposables.
Avoid leaving juice at room temperature for more than 2 hours to prevent bacterial growth and nutrient loss. When you serve, pour into reusable glass, then reseal promptly.
Consistent cold storage and mindful portions maximize freshness without overspending.
Conclusion
Juicing on a budget is totally doable if you plan smartly. You’ll save by choosing a good budget-friendly juicer or grinder, sticking to in-season produce, and prepping efficiently.
An interesting stat: cold-pressed juice retains about 20–30% more vitamins than standard pasteurized juice, depending on produce and time since pressing.
Focus on practical steps: wash and trim, juice with a masticating machine, mix affordable greens with fruit for flavor, and store properly to minimize waste. Your healthier habit is within reach.