

Table of Contents
If your juicer pusher is jammed, start by gently twisting and pulling to loosen it, avoiding force. Apply a small amount of food-safe lubricant on the shaft, then soak the top with warm water for 10–15 minutes to loosen dried pulp. Wipe away debris, recheck, and try again with careful twisting. If it’s still stuck, disassemble as instructed by the model’s guide and inspect for wear or buildup. More steps await to prevent future jams.
Common Causes of Juicer Pusher Sticks and How to Prevent Them
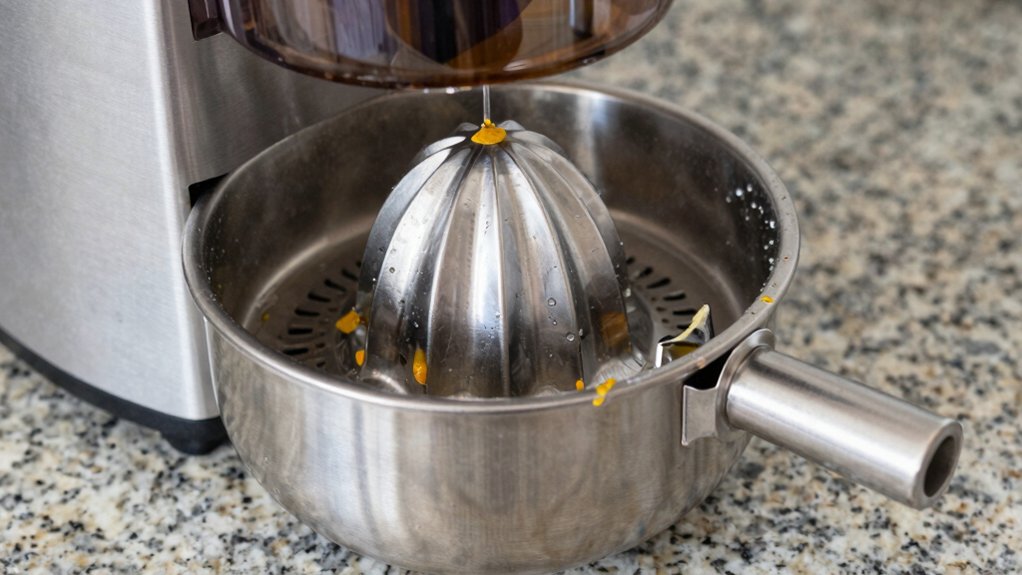
Common causes of juicer pusher sticks include age-related wear, residue buildup, and damaged locking mechanisms. You’ll notice sticking when the chamber is over ten years old, because parts weaken and don’t move as smoothly.
Residue buildup from dried pulp around the pusher shaft creates friction, slowing or stopping motion, so you’ll need to clean regularly.
Deformation or damage to the locking mechanism or shaft impairs smooth removal or movement, making removal feel stubborn.
Lack of regular cleaning and lubrication accelerates sticking and raises jam risk, so you’ll want a simple routine.
Dried pulp inside the juicer creates obstructions that hinder proper function, wasting your residue-free, efficient operation.
Address these early to save residue buildup, time and money, and keep your juicer using its best performance, thats perfectly practical.
Quick Immediate Actions to Free a Stuck Pusher Safely
If the pusher is stuck, act quickly but gently to free it without causing damage. Begin by gently twisting the pusher while pulling to gradually loosen it, avoiding excessive force.
Apply a small amount of food-safe lubricant around the pusher shaft to cut friction and help it slide.
Soak the top part of the juicer in warm water for 10–15 minutes to loosen dried pulp or residue; this warm water step is your quick relief.
After soaking, use a soft cloth to wipe away debris around the pusher and shaft.
Reassess, then try a careful twist-and-pull again.
Don’t bang or hit the juicer, as that can damage internals or worsen jams.
If it frees, proceed slowly and clean up any remaining pulp.
When and How to Disassemble for Proper Inspection
To inspect properly, you’ll need to disassemble the juicer according to the model’s instructions. Start by removing screws and panels carefully to access internal components without causing damage.
Inspect the locking mechanism and shaft for signs of deformation, wear, or residue buildup that could contribute to jamming. Look for dried pulp, dried juice, or debris inside the housing that may be obstructing the pusher or other moving parts.
Use gentle tools and avoid force when separating parts, and consider soaking components in warm water to loosen stubborn residues.
Follow the manufacturer’s disassembly instructions specific to your juicer model to ensure proper inspection and reassembly. Component inspection helps you identify causes before applying fixes.
Cleaning, Lubrication, and Regular Maintenance Tips

Regular maintenance keeps jams from happening in the first place. To prevent sticking, clean the juicer parts regularly, especially the pusher and locking mechanism, so residue doesn’t accumulate. After cleaning, dry all parts completely before reassembly to avoid moisture-related issues.
Disassemble the unit periodically to inspect for wear, deformation, or dried pulp, and clean every component thoroughly. Use a food-safe lubricant sparingly on the shaft and moving parts to ensure smooth operation and reduce wear.
Schedule routine maintenance, including cleaning and lubrication, to extend the lifespan of your juicer and minimize jamming problems. Adopt a simple routine: rinse, scrub, dry, lubricate, then reassemble.
This is your essential Cleaning Tips practice for reliable performance and fewer interruptions.
Expert Help: When to Seek Professional Repair or Replacement
When your juicer stays jammed despite troubleshooting, it’s time to bring in a professional. A certified appliance technician can provide a professional assessment and pinpoint whether components need repair or replacement.
Share the model number and a detailed description of the issue to help the technician target the right parts and procedures. If disassembly or deep cleaning hasn’t cleared the jam, professional repair reduces the risk of harming sensitive mechanisms and seals.
For persistent or recurring jams, a technician can identify underlying wear or mechanical failures that DIY methods can miss. If repair costs near or exceed the price of a new unit, replacement may be the most practical solution.
Prioritize clear communication, compare quotes, and choose proven service.
Troubleshooting Scenarios: Similar Issues Across Brands
Across brands like Breville and Westinghouse, pusher jams share common roots: residue buildup, wear, and occasional mechanical sticking that leaves the pusher in or near an open position. You’ll find similar fixes across Brand Variations: start with thorough cleaning to remove pulp clogs, then lubricate moving parts and ease pressure with steady, controlled releases.
If the pusher sticks, stop forcing it—disassemble cautiously to inspect the hopper seal, gaskets, and gears for wear or damage. Remove residues with a soft brush, then reassemble and test at low speed before full operation.
When jams persist, consult manuals for brand-specific guidance, and share your findings with fellow users to spot patterns. Regular maintenance and mutual troubleshooting reduce downtime and extend juicer life.
Conclusion
If you keep your juicer clean and watch for wear, jams won’t stall your mornings. Regularly inspect the pusher and seals, use minimal force, and never push ingredients that clog the auger. When a jam occurs, stop power, unplug, and clear with the brush. If problems recur, disassemble only as needed and reassemble carefully. Think of maintenance like oiling a busy machine—smooth = fewer hiccups. With simple care, you’ll keep it running like a well-oiled engine.