

Table of Contents
Your shiny new juicer won’t do you much good if it’s buried at the back of a cupboard behind the slow cooker you haven’t used since 2019, which is why proper juicer storage tips matter more than most people realize when they’re setting up their juicing routine.
The eternal battle between keeping your juicer conveniently accessible (so you’ll actually use it) versus not letting it dominate precious counter space requires some strategic thinking about your kitchen layout, your juicing frequency, and realistic assessment of your own laziness levels.
To keep your juicer mold-free and ready to go, rinse all parts immediately after juicing to remove pulp, then scrub crevices with brushes and warm soapy water. Dry thoroughly—especially filters and pulp containers—before reassembling, then store upright in a cool, dry spot away from direct sun. Regularly deep clean and descale, inspecting seals and gaskets for wear. Keep a dry, ventilated area and a cleaning log to track intervals; you’ll uncover more practical tips soon.
Choosing a Cold-Press Juicer
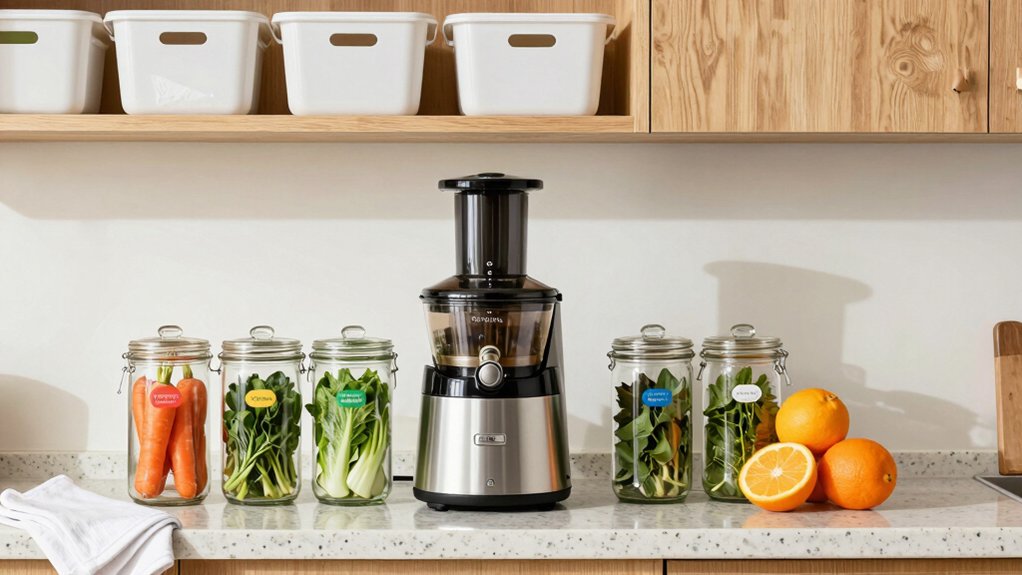
When choosing a cold-press juicer, prioritize models that use slow, masticating or hydraulic pressure to extract juice, since this approach minimizes heat and oxidation and preserves nutrients. You’ll benefit from better nutrient retention and enzyme preservation, thanks to reduced oxidation.
Look for a design that limits foam and promotes efficient pulp separation, which supports higher juice yield without sacrificing quality. Although price is higher, a cold-press juicer typically delivers a longer shelf life for stored juice when combined with proper juice storage practices.
Assess cleanability as well; simpler parts and accessible surfaces reduce mold risk and make routine cleaning easier. Consider overall performance, including oxidation prevention and resilience, to maximize juice yield over time.
Immediate Cleaning After Use
After you’ve finished juicing, get the cleanup started right away to protect the machine and preserve juice quality. Immediate cleaning prevents residue from drying on parts and reduces mold risk. Rinse all parts with warm water right after use to remove pulp and particles before they set.
Use a small brush or sponge to scrub nooks and crevices, dislodging any remaining bits. Avoid letting juice dry on components, since dried residue is harder to remove.
Dry all parts completely with a clean towel or air-dry to prevent moisture from lingering. Regularly disinfect the juicer parts with a vinegar solution or mild soap to sanitize and curb mold spores, then reassemble only when dry and odor-free.
Thorough Drying and Assembly
Thorough drying is essential before reassembling and storing your juicer. After washing, dry all parts with a clean towel to remove moisture and prevent mold growth. Pay special attention to internal components, such as filters and pulp containers, where residual water can linger.
Use a soft brush or cloth to reach crevices and small parts, ensuring no moisture hides in tight areas. Confirm the assembled unit is completely dry before storage to avoid trapped moisture.
Store the juicer in a dry, ventilated area so any remaining water can evaporate fully. This practice reduces moisture in the assembly and internal components, lowering mold risk and promoting readiness for use.
Regular thorough drying supports durable storage and reliable performance.
Proper Storage and Placement
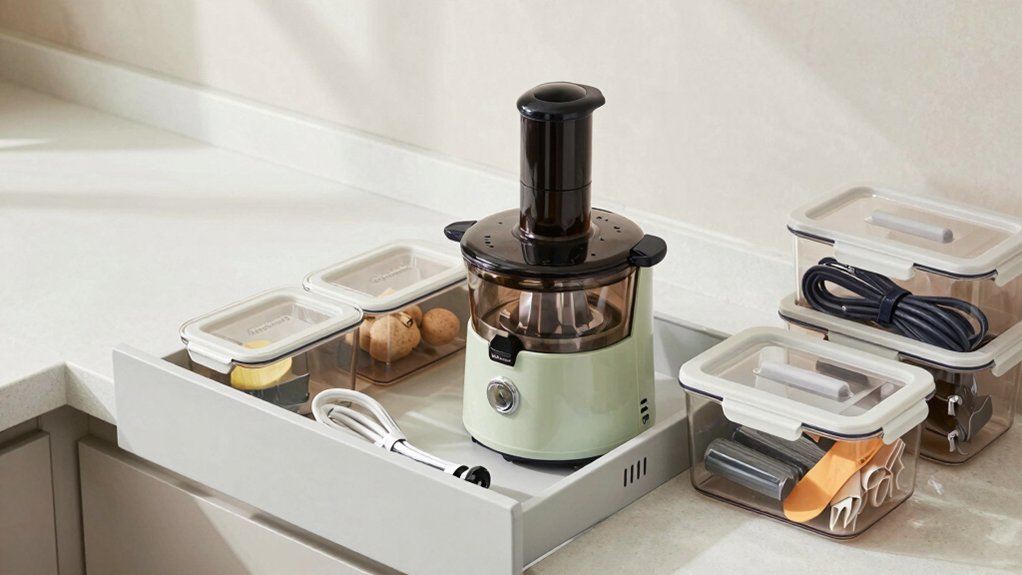
To store your juicer properly, keep it in a cool, dry place away from direct sunlight to prevent mold growth and material degradation.
You should store it upright to promote ventilation and prevent moisture from lingering inside components.
Place the unit on a stable, non-slip surface to minimize tipping and contamination risk.
Guarantee it’s completely dry before storage to inhibit mold development and sustain hygiene.
Regularly inspect storage areas for dust, mold, or debris, and perform a quick cleaning before reuse.
When you store, avoid damp environments and keep detergents and cleaning supplies separate from the juicer to prevent cross-contamination.
This approach supports long-term storage, reduces moisture buildup, and maintains overall juicer readiness for your next use.
Regular Deep Cleaning Schedule
How often should you deep clean your juicer? Deep cleaning keeps hygiene prioritized and mold prevention in check. After every use, disassemble parts and wash them thoroughly with warm, soapy water to remove residue.
Schedule an extensive cleaning at least once a week, including descaling to address mineral buildup from blades and internal components. Use a mixture of vinegar and water or a specialized cleaning solution to sanitize hard-to-reach areas and prevent mold growth.
Regularly inspect seals, gaskets, and filters for mold or residue and replace them as needed to maintain hygiene. Maintain a clear cleaning schedule and log to ensure consistent deep cleaning intervals, reducing buildup, and preserving performance over time.
Conclusion
Choosing a cold-press juicer sets you up for freshness, while quick cleanup keeps flavors intact. You rinse away pulp and residue, then dry and assemble mindfully, so mold fear stays distant. But neglect lingers: damp parts, stubborn spores, a fridge-stale scent. Juicer stored with care becomes a silent, ready teammate, bright as morning juice. Yet sloppy habits shadow it like fog—reappear, and you’ll taste the difference. Stay disciplined, stay crisp, stay ready.