

Juicing with kiwi is fast, practical, and nutrient-rich. Start with 2–3 ripe kiwis, wash, peel (optional), and cut into uniform chunks. Use a high-speed blender or juicer, pulsing briefly to cut foam and heat. Add water or coconut water for smoothness, then strain. Pair kiwi with greens like kale or cucumber to boost fiber and antioxidants, or mix into smoothies for fullness. Store in airtight, opaque bottles 34–40°F and enjoy within 24 hours; more tips await below.
Make Kiwi Juice in 5 Minutes: A Quick Start
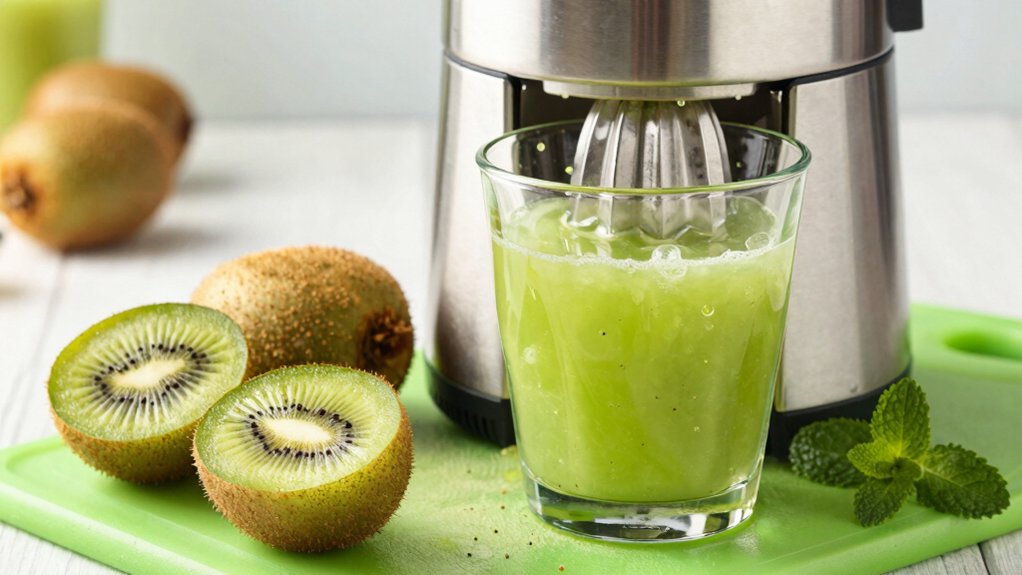
If you’re in a hurry, you can juice kiwis in five minutes flat by following a tight, repeatable routine. You’ll start with two or three ripe kiwis, washing them thoroughly. Peel quickly, then chop into uniform chunks to maximize yield and minimize processing time.
Use a high‑speed blender or juicer; run in short pulses to avoid heat buildup and foam. A splash of water or coconut water helps achieve a smooth consistency. After straining, you’ll measure volume and note pulp separation, ensuring repeatable results.
The nutritional benefits are evident: you receive a concentrated dose of vitamin C, fiber, and potassium per serving. The flavor profile remains bright, tangy, and invigorating, with minimal bitterness, making it preparation‑efficient and suitable for immediate consumption.
Choose Ripe Kiwi: Picking, Storing, and Prep for Juicing
Ripe kiwis give you the best juice yield and flavor, so learn the indicators: soft to the touch, fragrant aroma, and lighter brown skin with slightly gives under pressure.
Store them at room temperature to slow overripening, or refrigerate up to two weeks to maintain sweetness and texture.
For prep, wash, trim any bruise areas, and use within a day or two for maximal juice extraction.
Ripe Kiwi Indicators
Ripen kiwi by checking firmness, color, and aroma. You’ll notice fruit yields to gentle pressure when ripe, not mushy softness. Color should deepen from pale green to a warm, brownish hue at the skin; flesh remains vibrant but lighter near the stem. Aroma is faintly sweet with a citrusy edge rather than sour.
For picking windows, target kiwis that give slightly under moderate grip, then assess aroma at the stem end. Size varies; heavier fruit often indicates higher juice content, but texture matters more for juicing readiness.
When evaluating, consider kiwi flavor as a guiding indicator of ripeness and balance. Kiwi nutrition remains consistent across ripe specimens, so you can prioritize texture and aroma to optimize yield and aroma-driven juice clarity.
Storage And Prep Tips
To guarantee you get the best juice, store ripe kiwis properly and prep them efficiently for juicing. Start with selecting kiwis that yield to gentle pressure and have fragrant aroma. Refrigerate unripe fruit at room temperature until ready, then chill before juicing for stability.
Wash skins briefly; peeling is optional, but removing any bruised sections reduces bitterness. For storage, keep ripe kiwis in a breathable container or open vented bag; avoid moisture buildup to prevent mold.
Prep tips: trim ends, slice evenly, and use in quick succession to minimize oxidation.
When combining, consider fruit pairing to enhance flavor balance, and juice promptly to preserve vitamin content.
Document outcomes to refine your approach, noting sweetness, acidity, and texture shifts to optimize future batches.
Essential Tools for Quick Kiwi Juicing
You’ll optimize quick kiwi juicing by setting the juicer to the right extraction speed and pulse patterns for soft fruit, guaranteeing consistent yields.
Keep the knife-to-tool transfer smooth with a stable cutting board, and minimize prep time by pre-cutting kiwis into uniform pieces.
After juicing, rinse the tool components promptly and store them dry to prevent residue buildup and assure ready-to-use performance.
Juicer Settings Essentials
Are you ready to maximize speed and yield with the right juicer settings for kiwis? Set the speed to medium-low to minimize heat, preserve nutrients, and reduce foam.
Use a low-tiber or single-gear juicer when possible to avoid excessive pulp.
Feed kiwis uniformly, halting briefly to prevent clogs, then resume for consistent output.
For soft, high-water content fruit, avoid high pulsation; steady pressure yields smoother juice with fewer seeds.
If your juicer has a pulp control, favor moderate extraction to balance nutritional benefits and flavor profiles.
Utilize a coarse filter to minimize fibrous residue, then strain if you seek clarity.
Record each batch: kiwifruit ripeness, pulp level, yield, and any adjustments for repeatable, data-driven results.
Knife-To-Tool Transfer
With kiwis prepped, the next step is mapping knife-to-tool workflow to speed up juicing without sacrificing yield. You baseline cut sizes to fit your tool’s intake, then sequence cuts to minimize hand movements. Use a sharp knife to reduce prep time and guarantee clean exposure for the tool’s blades, lowering waste.
Align the knife’s motion with tool operation: push cuts toward the feed, then switch to the juicer in one continuous motion. Maintain a stable grip and consistent pressure to avoid slips and inconsistent facets. Emphasize knife safety by keeping fingers clear of blades and retracting the knife after each transfer.
Schedule regular tool maintenance checks for alignment, blade wear, and seal integrity to sustain consistent throughput and juice yield. Document any deviations to optimize future transfers.
Cleaning And Storage
Cleaning and storage isn’t optional hype—it’s the foundation for quick kiwi juicing. You should prep a dedicated workspace, rinse Kiwi thoroughly, and use clean, labeled containers to prevent cross-contamination. Wash hands and surfaces before handling fruit, then trim damaged spots to reduce waste. Use a sharp knife and a reliable juicer, keeping blades dry and components dry to avoid oxidation.
Store prepped kiwis in the refrigerator in breathable bags, targeting a 1–2 day window for peak flavor and nutrition. Track pesticide residues by sourcing from suppliers with transparent processes, and consider organic certification as a quality signal when you evaluate produce.
Regularly sanitize equipment after each use to minimize microbial risk and preserve freshness.
Kiwi Juice Basics: Ingredients and Method
Kiwi juice starts with ripe kiwis, water or ice, and optional lemon juice or honey to balance sweetness. You’ll want to wash kiwis, peel if desired, and trim ends.
Use a blender or juicer, aiming for a smooth texture without pulp overdrive. For the method, combine kiwis with liquid to reach your preferred consistency, then strain if you want a cleaner juice.
Keep portions practical: roughly 4 medium kiwis per liter of drink is a reliable baseline. Temperature matters: serve chilled for maximum freshness.
This approach supports data-driven results, focusing on measurable outcomes like yield and taste balance.
Nutritional benefits accompany the process, with vitamin C and dietary fiber contributing to daily goals. Flavor profiles evolve with subtle tweaks in liquid ratio and lemon or honey.
Easy Flavor Pairings for Kiwi Juice
When you juice kiwis, the right pairings amplify brightness, balance sweetness, and enhance texture. In practical terms, test pairing suggestions by balancing acidity with gentle sweetness and vibrant aroma. Start with citrus like lime or orange to lift tang without overpowering kiwi’s green notes. Pineapple adds tropical sweetness and a clean finish, while pear softens intensity for smoother juice, a strong flavor combination.
Berry accents—strawberry or blackcurrant—deliver depth and color without muddying brightness. Cucumber introduces invigorating hydration, preserving clarity. For spice hints, a whisper of ginger or mint delivers subtle warmth and aroma, not distraction.
Record results as flavor combinations, noting ratios and mouthfeel, then refine datasets to guide future batches. Use precise measurements and concise notes to optimize consistent quality.
Green Boost: Kiwi, Greens, and Superfood Add-ins
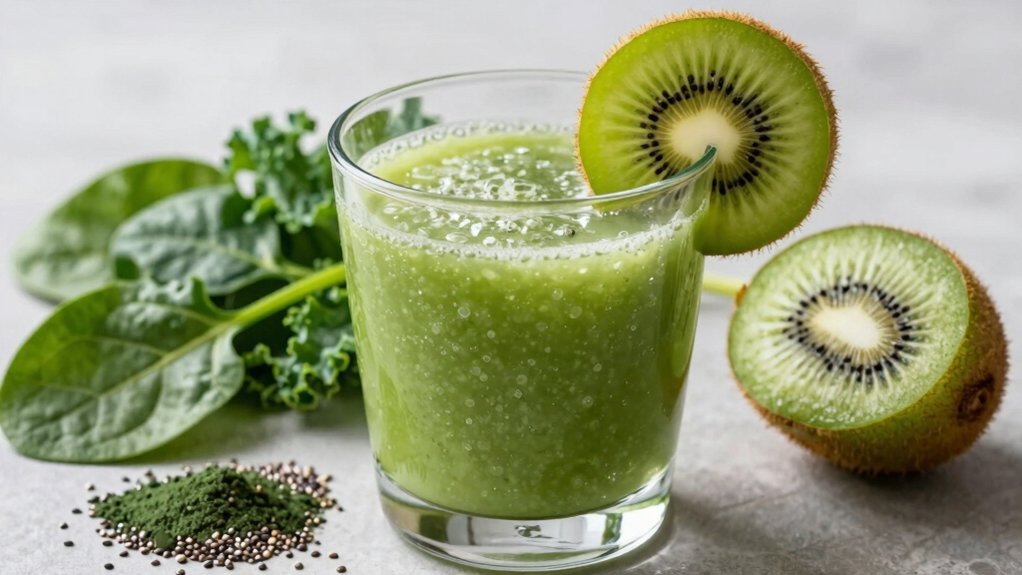
To boost nutrition and brightness in your kiwi juice, add greens like spinach or kale and a handful of superfood add-ins such as chia, flax, or spirulina; these components increase fiber, antioxidants, and volume without compromising the bright kiwi profile.
In practice, greens contribute micronutrients (vitamin K, folate) while maintaining a low sugar impact. Add chia or flax for soluble fiber and omega-3s, improving satiety and texture without altering the fundamental kiwi flavor.
Spirulina boosts pigment and trace minerals, yielding measurable antioxidant benefits per serving. Aim for a 1:2 to 1:4 juice-to-greens ratio to preserve color and flavor.
Track results with simple metrics: fiber grams, antioxidant power, and consumer taste notes, reinforcing kiwi nutrition and supporting effective, repeatable green smoothies.
Kiwi Smoothies vs Kiwi Juices: Which Fits Your Goals?
If your goal is precision and control over intake, smoothies and juices offer distinct advantages: smoothies emphasize total volume and fiber, while juices concentrate micronutrients and hydration.
In Kiwi smoothies, you get lasting satiety from soluble and insoluble fiber, plus slowed carb absorption that supports steady energy. Juices deliver a micronutrient punch and rapid hydration, ideal for quick nutrient replenishment after workouts.
Consider flavor profiles: smoothies blend kiwi with yogurt, berries, or greens for a balanced, creamy taste; juices highlight bright, tangy kiwi-forward notes when paired with citrus or cucumber.
Nutritional benefits differ by form, yet both support vitamin C, potassium, and polyphenols. Your choice depends on whether you prioritize fullness and texture or fast nutrient delivery, with practical, goal-driven outcomes.
Taming Bitterness and Bulk: Practical Juicing Tips
Bitterness in kiwi juice can derail even the best plans, but you can minimize it with targeted preparation and proven blends. You’ll balance flavor by peeling kiwis, using ripe fruit, and pairing with citrus, apple, or cucumber to reduce sharp notes.
Track bitterness through simple tastings: compare base juice to blends in 1:1 ratios, then refine. Practical ratios are 1 kiwi to 2–3 neutral fruits, adjusting based on sweetness and acidity.
For bulk, add cucumber or celery to boost volume without heaviness, preserving a clean juicing texture. Use a high-speed juicer to maintain brightness, then chill immediately to stabilize volatile aromatics.
Bitterness management depends on routine, not luck; document blends, temps, and yields. Juicing texture remains smooth when you filter sediment lightly and drink promptly.
Kiwi Juicing Safety, Storage, and Shelf Life
Kiwi juicing safety hinges on clean handling, proper storage, and a clear timeline for use. You should wash kiwis under cool running water, trim any bruised spots, and sanitize prep surfaces to minimize contamination risk.
Once juiced, consume within 24 hours for maximum nutritional benefits; refrigerate at 34–40°F (1–4°C) in a sealed container to slow oxidation. Use opaque bottles to limit light exposure, and avoid metal containers that react with acids.
Freeze excess juice in labeled portions, then thaw in the fridge before use. Monitor aroma and color; discard if sour or off. Nutritional benefits decline with time, so plan portions accordingly.
Flavor variations arise from storage length and pairing with herbs or citrus. Regularly rotate storage methods to maintain quality and safety.
Frequently Asked Questions
Can Kiwi Juice Help With Skin Health?
Yes, kiwi juice can help skin health. It provides antioxidant benefits and supports nutrient absorption, which may improve complexion. In practice, enjoy in moderation with a balanced diet to maximize skin-focused outcomes and minimize sugar intake.
How to Juice Kiwis With Soft Seeds?
To juice kiwis with soft seeds, strain the puree through a fine mesh, then blend with your liquid of choice. Use chilling, short pulsing, and pulp control for consistent texture; track fruit preservation metrics and refine juicing techniques.
Should I Juice Kiwis With or Without Skin?
You should juice kiwis with the skin on. Studies show kiwi skin benefits include fiber and antioxidants, so peeling techniques aren’t essential. Peeling kiwi techniques may waste nutrients, while leaving skin speeds up, improves yield, and retains future health data.
Can Kiwi Juice Cause Stomach Discomfort?
Yes, kiwi juice can cause stomach discomfort for some, especially if you have digestive sensitivity or consume large amounts. Monitor symptoms, and note fermentation concerns may arise if you combine kiwi with high-sugar ingredients.
What’s the Best Ratio of Kiwi to Water?
The best ratio is roughly 2 kiwis to 1 cup water, adjust to taste. You’ll maximize nutritional benefits and flavor enhancement, maintaining a smooth texture. This data-driven approach keeps the blend practical and consistently invigorating for your needs.
Conclusion
In short, you juice smartly, you rinse thoroughly, you prep efficiently. You pick ripe kiwis, you balance sweetness with acidity, you track yield with precision. You blend greens when you want a nutrient boost, you taste to adjust, you strain when you need smoothness. You store promptly, you refrigerate properly, you label clearly, you use promptly. You compare choices, you measure outcomes, you repeat what works. You juice confidently, you sip consistently, you enjoy the data-driven results.